Hard Crust on Garden Soil: Why Seedlings Can’t Break Through, and How to Help Them
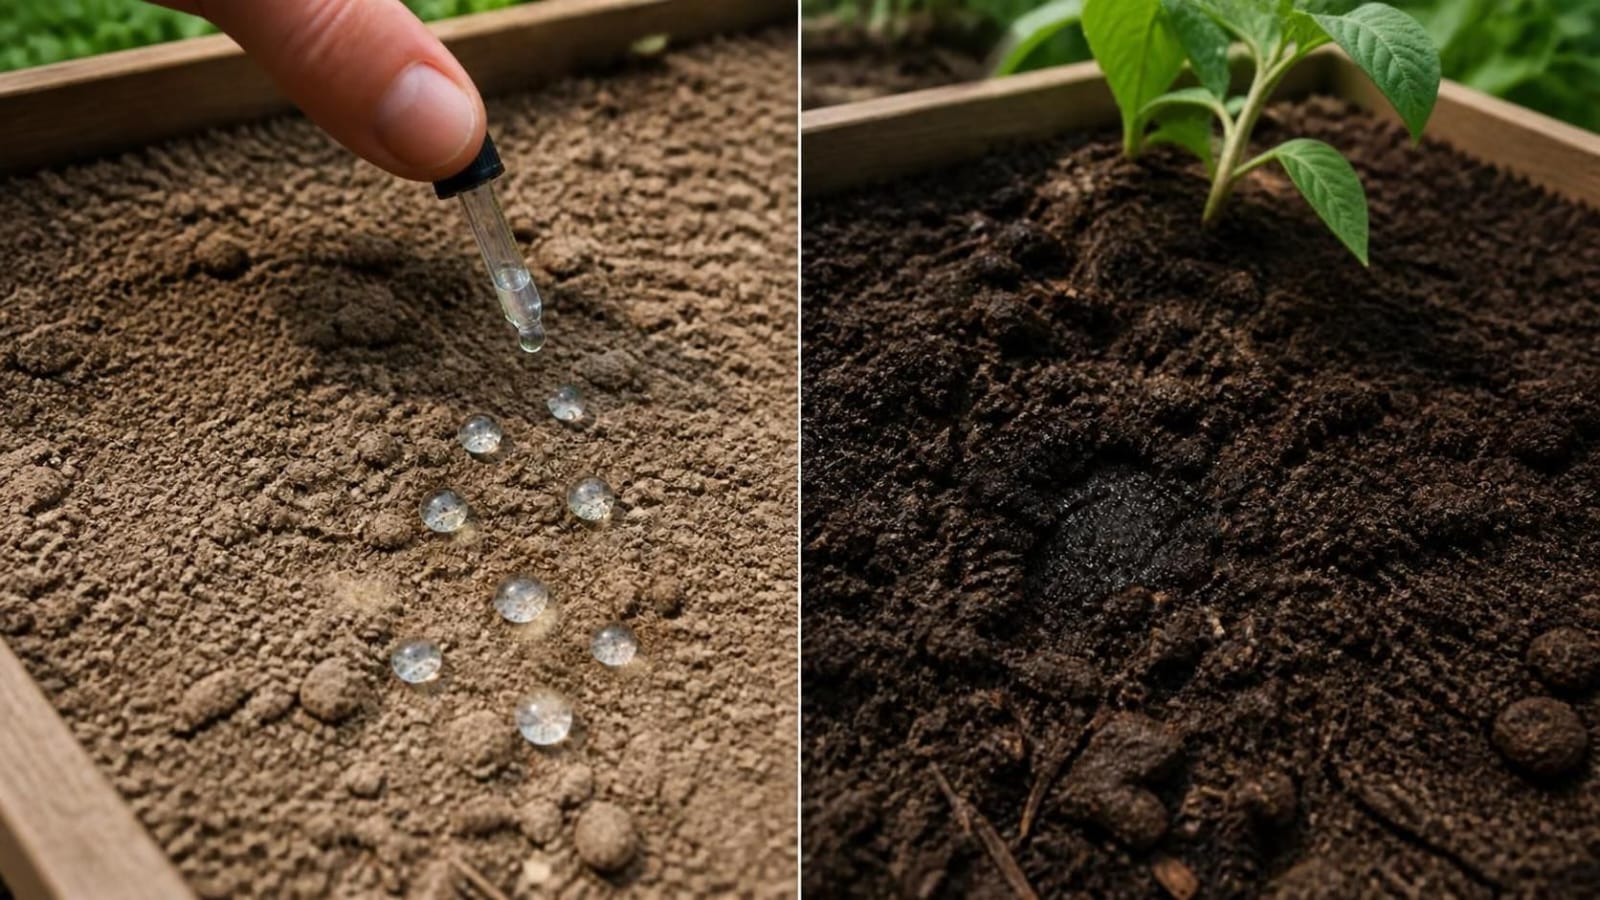
A hard crust forms when rain or watering breaks the surface crumbs of your soil into fine particles that then dry into a thin, cement-like skin. Small seedlings often can’t push through it. If nothing has sprouted yet, soften the surface with a gentle, fine spray or break the crust very shallowly. If sprouts are about to appear, water instead of scratching. Then cover the seed row with something crumbly so the crust can’t form again.
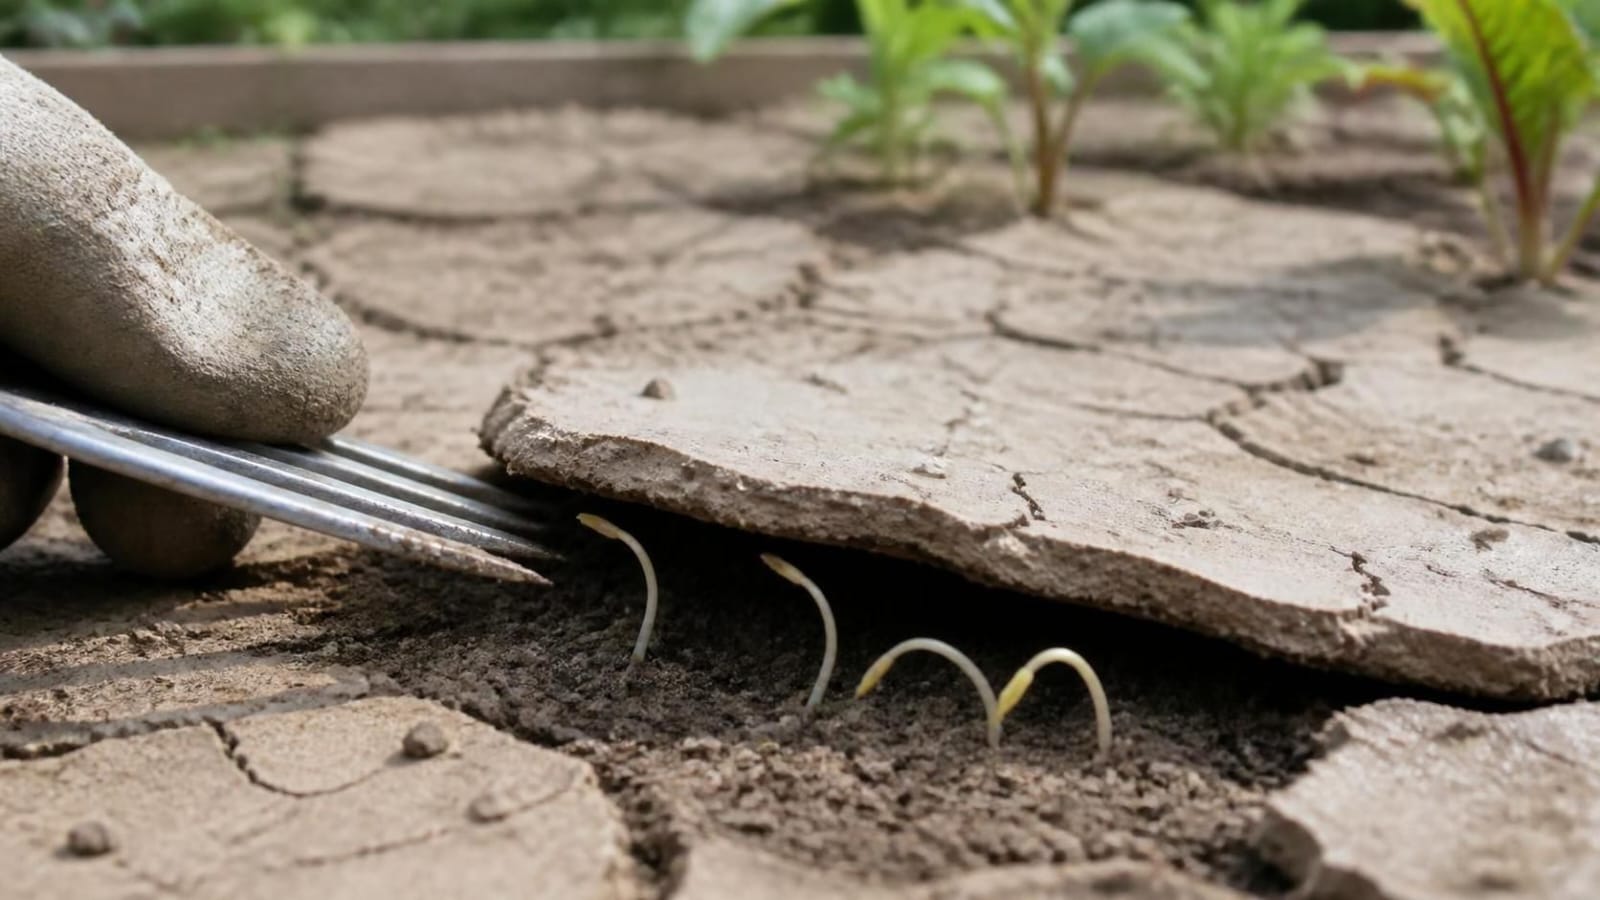
Two weeks after sowing, the row is still bare. You touch the surface and find a tight, pale plate of soil that barely crumbles, and water seems to sit on top of it or run off. Before you resow, look closer. The seeds may be there after all, sprouted and stuck underneath.
This guide helps you do three things: confirm that a crust really is the problem (several other faults look the same), pick a rescue that suits how far along your seeds are, and set up your next sowing so it doesn’t happen again.
What a soil crust looks and feels like
A crust is a thin, dense layer at the very top of bare soil. After a downpour the surface turns to mud, and as it dries the fine particles set into a hard skin that is much denser and more brittle than the loose soil below it. The USDA’s Natural Resources Conservation Service describes these structural crusts as ranging from a few tenths of an inch to as much as two inches thick.
In a garden bed you will usually notice a smooth, sometimes glossy or cracked surface that breaks into plates rather than crumbs, water that beads, pools or runs off, and a seedling stand that is patchy rather than evenly bare.
Check it’s really a crust before you act
Seeds fail to appear for many reasons, and the rescue for one can harm another. Use the clues below to narrow it down.
| What you see | Most likely cause | Clue | How to confirm |
|---|---|---|---|
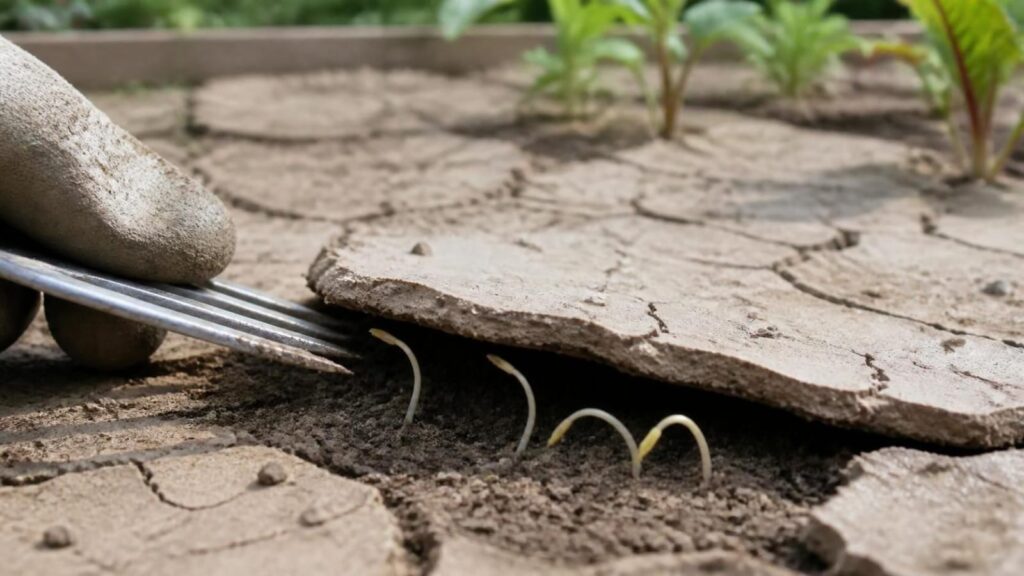
| Pale, hard skin; water beads, pools or runs off | Surface crust | Began after heavy rain or hard watering followed by dry, sunny weather; patchy stand, worst on bare, smooth soil | Scratch gently with a fingertip or fork tine. A crust lifts in plates, and sprouts underneath may be pale and bent |
| Gaps in low spots or where water stood | Waterlogging and seed rot | Standing water or soggy soil for days after rain | Gently dig up a seed or two and check whether each is firm or soft and mushy |
| Missing seeds, bare strips after a downpour | Seed washed away or buried too deep | Small seeds such as carrots and lettuce are the most exposed after a heavy storm | Look for displaced soil along the row, and for seeds on the surface or at the low end of the row |
| White or salty film on the surface as the soil dries | Salt crust | Mostly a concern in dry regions or where soil is high in salts or sodium | Ask your local extension office about a soil test rather than treating it as a plain crust |
| Green, slimy or mossy film on damp soil | Biological crust (algae, moss) | Living growth rather than a hard pale plate, often where water lingers | Look for a green or dark living layer on the surface |
| Loose, crumbly surface but still nothing up | Not a crust: seed too deep, soil too cold or dry, or old seed | Nothing hard on the surface to block the seedlings | Compare with the seed packet’s germination time and sowing depth, then dig up a few seeds |
Give it a little time before you dig. A Farm Progress garden column suggests waiting about a week after a big rain and then asking three questions: are the rows coming up evenly, are there gaps in certain areas, and is the surface hard or sealed? If you are still unsure, dig gently where the seeds went in. A firm, intact seed is simply late. A soft, mushy one means it’s time to resow.
Why the crust formed
The mechanism is simple. According to Penn State Extension, when weakly held soil crumbs are struck by raindrops or irrigation water, they fall apart, and the fine particles fill the gaps between the larger ones. The result is a very thin layer that cements as it dries. Four things tend to stack up:
- Weather. University of Minnesota Extension names heavy rain followed by hot, dry weather as the riskiest combination, because the fine particles bind together as the surface dries quickly (UMN Extension).
- Soil texture. Silts, loams and clays crust more readily than coarse sand, which usually forms only a thin, weak crust. SARE adds that sandy loams and silt loams are particularly susceptible because their crumbs aren’t very stable.
- Low organic matter and bare ground. Organic matter helps hold crumbs together, and without it or a surface cover, raindrops break them apart more easily.
- A very fine, smooth seedbed. Heavy tilling and raking leave little to resist the impact of water. Penn State suggests leaving the surface a little rough after any tillage.
Why does it hurt seedlings so much? Water struggles to soak in through a crust, so it can run off soil that is still dry underneath, and air exchange drops as well. Seedlings also have to push hard against the surface. The UMN Extension notes that some will use up their stored energy trying and never make it through, which is why tiny seeds such as carrots and beets suffer more than beans. The NRCS adds that crusts are especially hard on non-grass crops, which includes most vegetables.
The weather sometimes solves the problem for you. SARE points out that a hard crust may only delay emergence until the next rains soften it, though a crop can be set back if those showers never arrive.
What to do now, depending on where your seeds are
The right move depends on timing. Cultivating a bed where sprouts are already at the surface can do more harm than good, while watering alone may not be enough if nothing has sprouted and the crust is thick.
Nothing has sprouted, and emergence is still a few days away
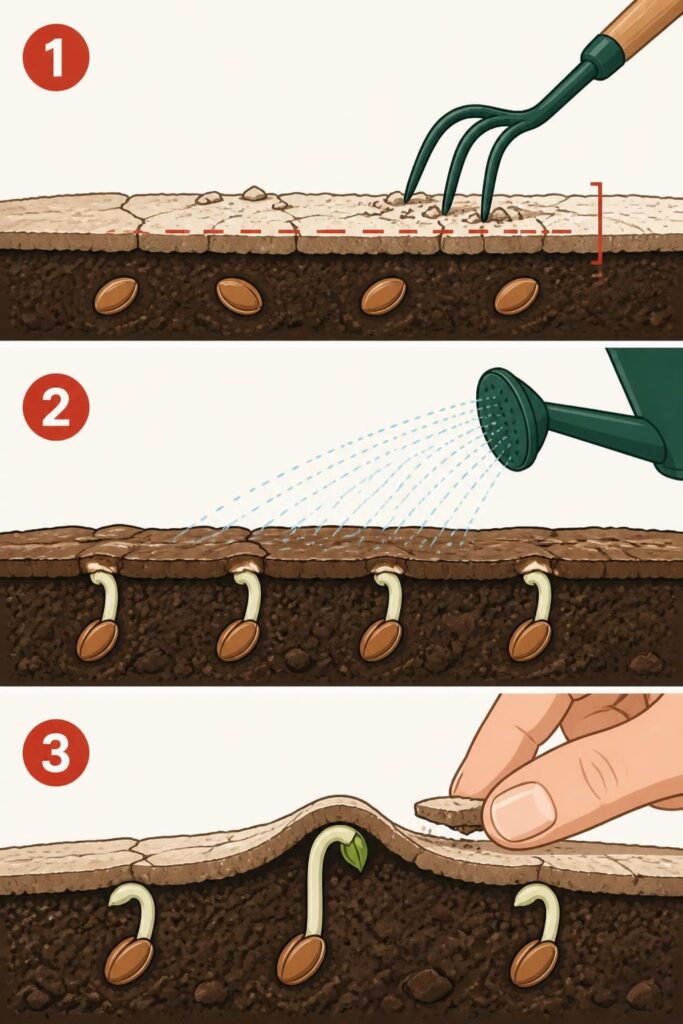
This is the easiest case. UMN Extension recommends shallow cultivation when there are still a few days before emergence and the crust sits above the seeds, working only as deep as the base of the crust. In a garden, that means drawing a hand cultivator or the tines of a rake lightly across the surface so the crust cracks into small pieces. The NRCS advises doing this while the soil is still moist rather than baked dry. Leave the surface slightly rough afterward and add a thin crumbly covering (see the prevention section below). If you are not sure how deep your seeds are, skip the scratching and soften the surface with water first.
Sprouts are about to appear
If the first leaves are reaching the surface, UMN Extension warns that cultivation could cause significant damage and suggests irrigating to soften the surface instead. Use a fine rose or a mist setting, and water lightly so the top layer stays damp. A gentle, repeated watering softens a crust far better than one hard soaking, and it avoids creating a new seal. In cool weather go easy, because waterlogged soil brings problems of its own.
Seedlings are up but bent, pale or stuck
Moisten the surface lightly, then crumble the crust around each seedling with your fingertips or the tip of a fork. Lift small pieces away rather than pulling on the seedling itself. Expect to lose a few, since some will already have spent their energy pushing.
Gaps are still empty after a week or so
Replant only where the gaps are, and favor quick-growing crops that can catch up, as the Farm Progress column suggests. Don’t tear out the whole bed and start over. This time, cover the seeds as described below.
Mistakes that make crusting worse
- Digging up the whole row to look for seeds. Check one or two spots only.
- Running a rototiller over the bed. Heavy tillage breaks crumbs down further, so any tillage should be kept minimal, with the surface left rough.
- Cultivating once seedling leaves are at the surface.
- Using a hard jet or heavy drops from a watering can. Large drops hit hardest, and Penn State notes that irrigation systems differ in the drop sizes they deliver.
- Piling thick mulch directly over the seed row. Keep mulch off the row until seedlings are up.
- Mixing sand into clay as a quick fix. Compost is the safer first move for most beds.
- Working the bed when it’s wet, which smears and packs the soil.
What recovery looks like
Expect an uneven stand rather than a total loss. Large-seeded crops such as beans, corn and squash usually come through, while small-seeded ones such as carrots and lettuce are the most likely to need resowing. Once the plants are up and growing, the crust matters far less. In fact, the NRCS notes that a crust can slow evaporation, so some moisture stays in the soil. It remains a problem for water getting in, though, so loosen it lightly when you next cultivate.
Stop it coming back
At sowing time
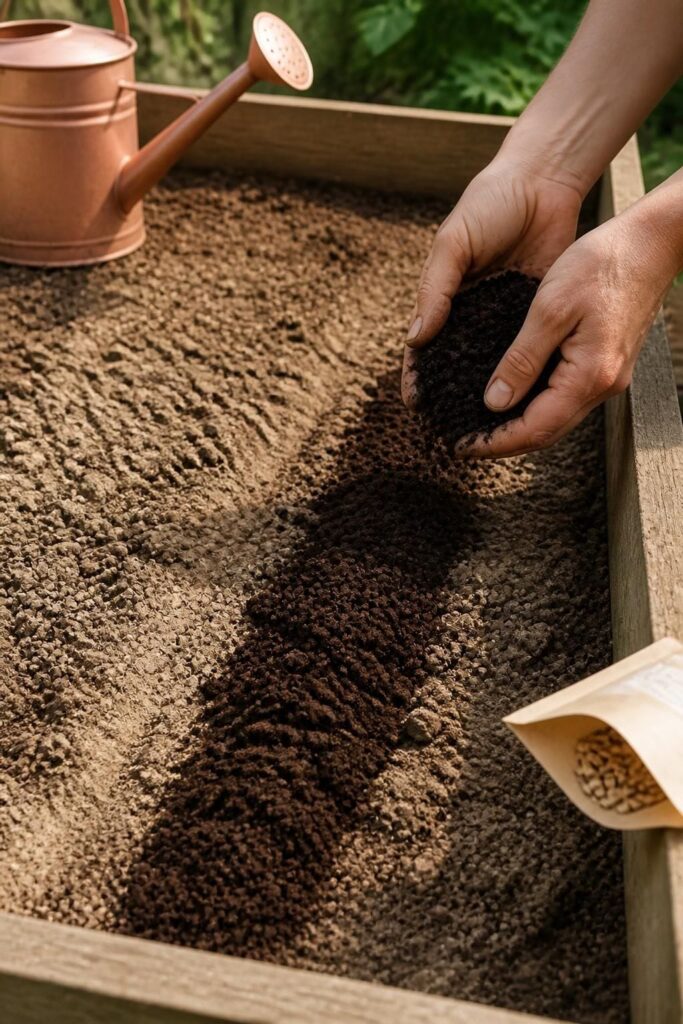
- Cover the seed row with something crumbly. Fine compost, leaf mold or a light potting mix works better than pushing the bed’s own silty or clay soil back over the seeds. This is a widely used gardener’s method rather than a researched rule, and results vary with soil and climate.
- Don’t sow deeper than the packet says. Penn State advises against deep planting in crust-prone soil so seedlings can emerge before a crust re-forms.
- Water with a fine spray. A soaker hose or a gentle mist keeps the force off the surface.
- Sow small seeds a little thicker, then thin. UMN Extension points out that seedlings push through a crust more easily together, but you will need to thin the row if no crust forms.
- Think twice about very early sowing. Seeds in cold soil take longer to come up, which gives a crust more time to form above them, and Penn State suggests avoiding very early planting for that reason.
Through the season
Once seedlings are up, mulch the bed. SARE reports that even a residue cover of around 30% of the soil surface greatly reduces crusting. Keep walking to your paths so the beds aren’t compacted, and stay off wet soil whenever you can.
Over the long term
Add compost each season, grow a cover crop in the off-season where you can, and dig or till less. Organic matter stabilizes soil crumbs so raindrops break them apart less easily, and reduced tillage lets the surface structure rebuild. The improvement is gradual: SARE’s farm-scale guidance puts the benefits of reduced tillage at roughly two to five years, faster with cover crops, so a small garden may differ.
If your soil is high in sodium, the picture changes. The NRCS and SARE both mention gypsum (calcium sulfate) as an option for sodium-rich soils, but it isn’t a universal fix. Get a soil test or ask your local extension office first, and follow the product label and local regulations rather than adding it on a guess.
Seed trays and containers crust too
The same physics apply on a smaller scale. Watering a tray or pot from above can pack the surface into a skin that seedlings struggle to lift. Water from below or with a fine mist, cover the seeds with a thin layer of vermiculite or coarse seed-starting mix, and crumble any skin that forms with a fork tine before the sprouts reach the surface.
Quick answers
Will my seeds still come up after a crust forms?
Often they will, if the seeds are firm and viable. A crust can delay emergence rather than prevent it, particularly if rain or gentle watering softens it in time. Small seeds are the most likely to need a second sowing.
Should I water a crusted bed?
Yes, lightly, especially when seedlings are close to emerging and cultivating could damage them. Use a fine spray and keep the surface damp rather than flooded.
Is a soil crust always bad?
Not entirely. A crust can reduce evaporation and help hold moisture, but it blocks water from soaking in and traps emerging seedlings, so for seed beds it’s a problem worth fixing.
What if the crust looks white?
A white or salty film can point to salts or sodium in the soil, which is a different problem from a rain-sealed crust. A soil test and local extension advice will tell you what to do next.