
Plant a Sea Green juniper in full sun, in soil that drains well, during spring or early fall. Dig the hole no deeper than the root ball and wider than it, set the plant so the root flare sits at the soil line, and water it regularly until it is established. Spacing depends on the look you want: about 4 to 6 feet apart for a loose hedge, and closer to 6 to 8 feet if each plant should stand on its own. The rest of this guide covers the steps in the order you will actually do them.
Pick the site before you buy
Sea Green is a compact, arching evergreen, and it wants sun. Plan for at least six hours of direct sunlight a day. If your site is smaller than this plant’s 6-foot spread, our Blue Star juniper guide covers a smaller shrub. NC State Extension’s plant profile notes that a plant in too little sun will tend to look thin, which is why a shaded Sea Green often looks sparse rather than full.
Drainage matters more than soil type. The plant tolerates poor, rocky, and alkaline soils, but it does not tolerate standing water. Too much moisture is the usual reason junipers fail, and another nursery notes that blight can develop when the soil stays wet. Before you dig, look at where water sits after a heavy rain. If the spot stays soggy for a day or more, choose a higher place or plan to improve drainage.
Leave room between the plant and the house. Foliage that grows against a wall or deck gets crowded and damaged, so keep a clear gap. Look up before you plant, too, and make sure the mature height stays clear of overhead lines. If you are weighing this plant against something taller, our Wichita Blue juniper size guide covers a much narrower and taller option, and our Hollywood juniper size guide covers a sculptural plant that grows considerably larger.
When to plant
Spring and early fall are the standard windows. One nursery lists spring or early fall, another lists spring or summer, and both agree that the plant should be in the ground before the weather turns hard. If a hard frost is forecast within a few days of planting, wait. A plant that goes into cold, saturated soil has less chance to root before winter.
Summer planting is possible, but it means more watering. In hot weather the root ball can dry out before the plant establishes, so plan to water every few days during the first few weeks.
Dig the hole the right way
Measure the root ball first. The hole should be no deeper than the root ball, and it should be wider. A common guideline is about three times the width of the root ball. One nursery’s planting instructions say to dig at least six inches wider than the ball but no deeper, which gives roots loose soil to push into without burying the crown.
If the plant is balled and burlapped, soak the root ball before you set it in the hole, and rotate the plant until its best side faces the walk or the view. Lift it by the root ball, never by the stem or top. Pulling a juniper up by its top can loosen the roots and crack the ball, which is hard to fix after the fact.
Container plants need the same care. Soak the container until the bubbles stop, then slide the plant out gently. If the roots are circling tightly in the shape of the pot, loosen them with your fingers before planting so they can grow outward.
Set the height and backfill
The root flare, where the trunk widens into roots, should sit at or just above the soil line. This is the single detail that separates a juniper that settles well from one that sinks. Once the plant is in place, backfill with the native soil and pack it firmly, working out large air pockets as you go. Do not mound soil against the stem, and do not add rich compost or fertilizer to the planting hole. Extra feeding at planting is not needed, and it can stress a plant that is already settling in.
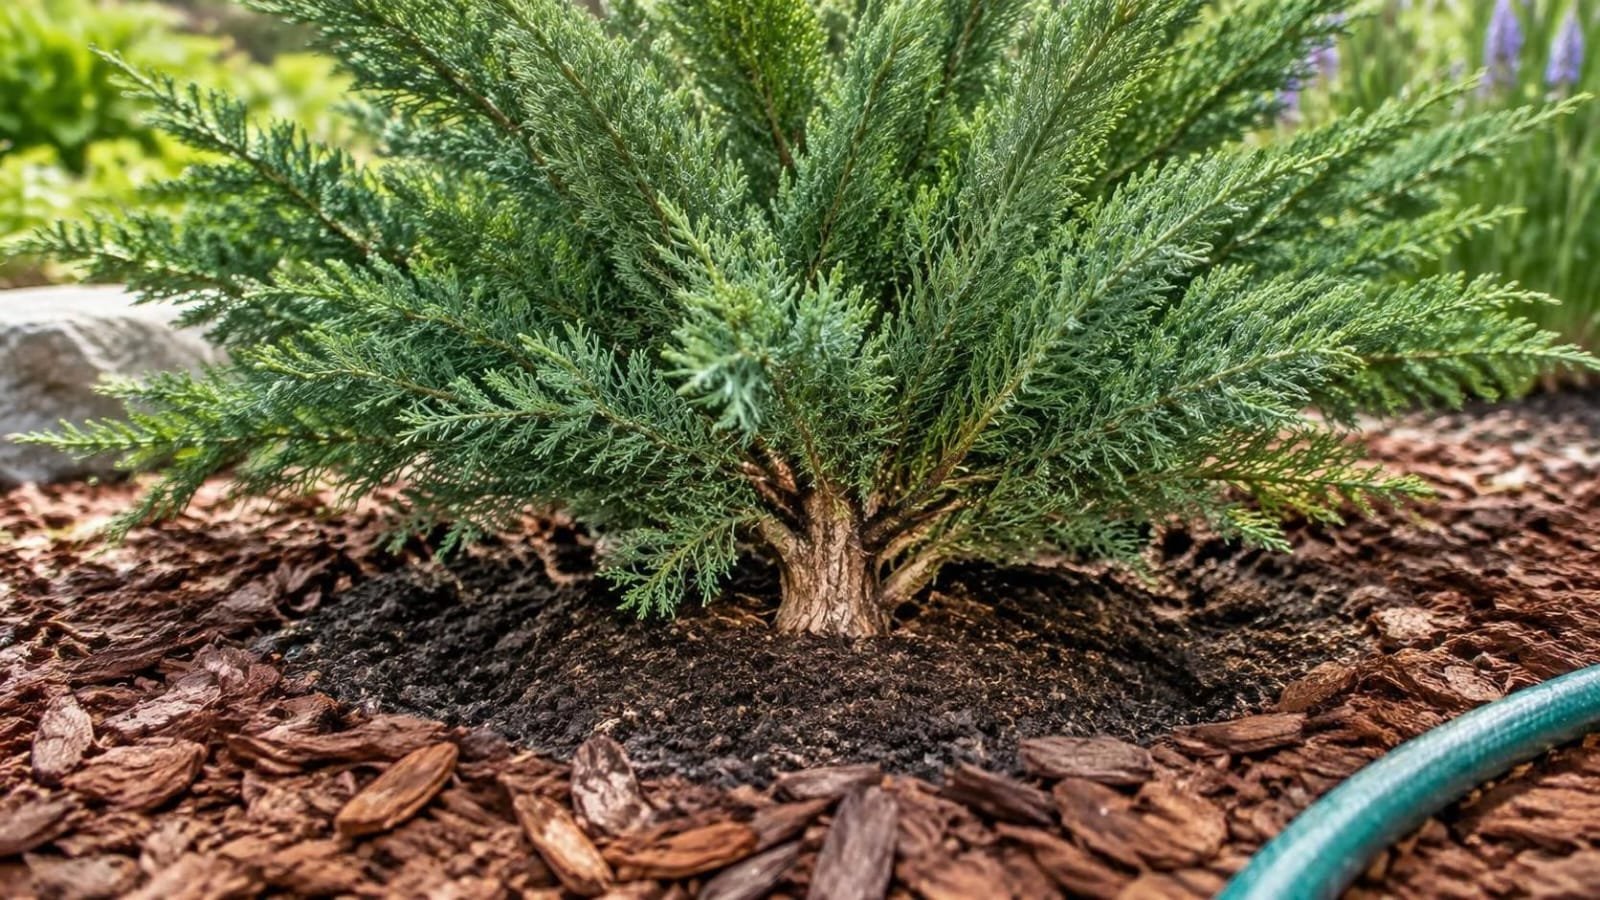
Water the plant well after backfilling so the soil settles around the roots. Then add about two inches of shredded bark or similar mulch over the planting area. Keep the mulch a few inches off the stem. Mulch helps the soil hold moisture and reduces weeds, but a thick pile against the trunk holds water where the bark needs to stay dry.
Spacing for a hedge or a border
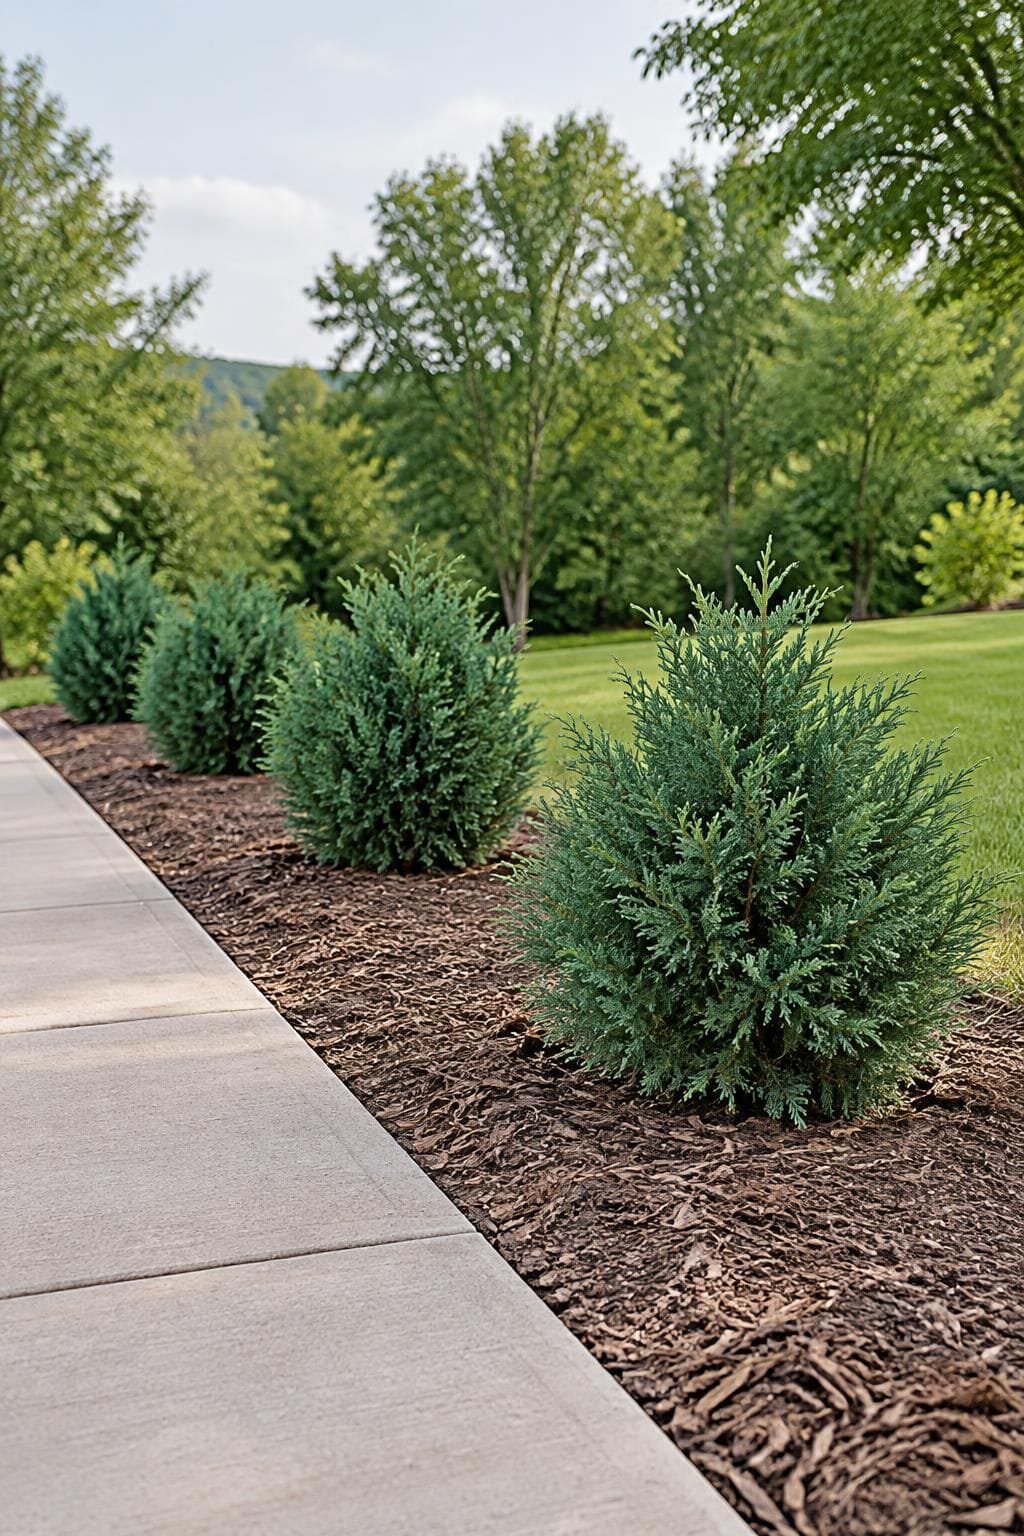
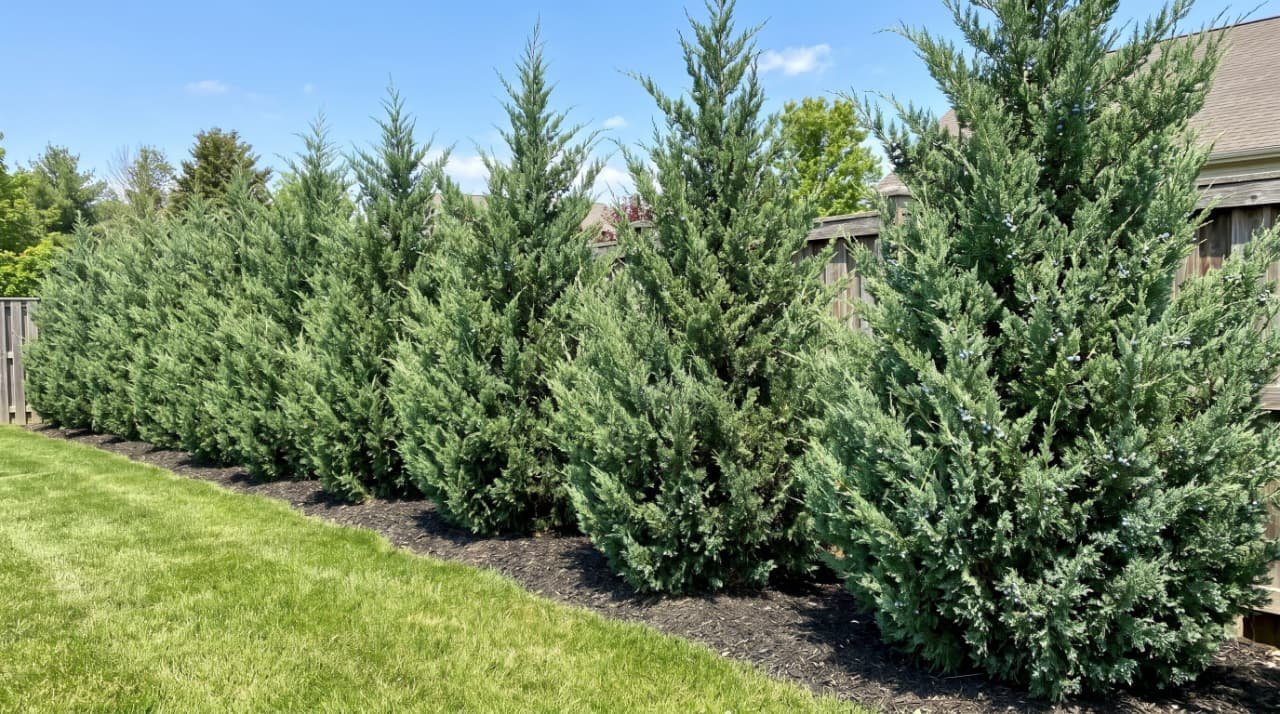
The right spacing depends on what you want the plants to do. For a loose, continuous hedge, sellers commonly suggest 4 to 6 feet between plants. That spacing lets the arching branches meet within a few seasons, so the row reads as one mass rather than separate shrubs. For individual plants in a foundation bed or a border, 6 to 8 feet is more typical, since each plant keeps its own outline.
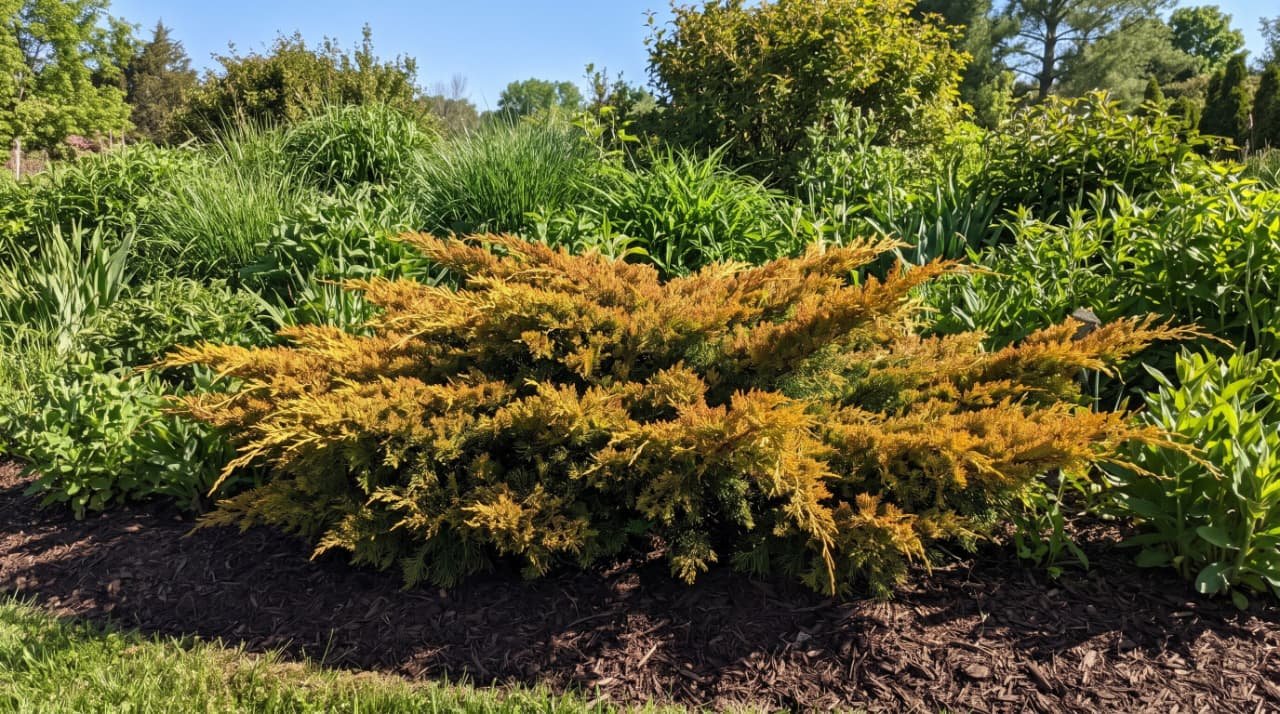
Mature size is compact compared with many junipers. Most sources list 4 to 6 feet tall with a 6 to 8 foot spread, and a Nevada water authority’s plant list describes a compact 5-by-5-foot shrub. Use the spread, not the height, to set your spacing. A plant set too close will be crowded by its neighbors, and the lower branches will thin out. For a contrasting golden accent beside green junipers, our Old Gold juniper guide covers a yellow option. If you want a lower, wider planting instead, our Blue Rug juniper guide is a better starting point for ground cover.
Watering through the first season
Water regularly during the first growing season, because a new root system takes time to reach the soil around it. Most sources agree on this, and the specifics depend on your weather. In a hot, dry spell, check the soil every few days. Push a finger or a screwdriver into the soil near the root ball. If the top three inches are dry, water deeply. If the soil is still damp, wait.
Overwatering is the bigger risk once the plant is established. Once established, the plant tolerates drought well, and a soggy root zone invites rot. Water deeply and then let the soil dry a little between sessions. That routine does more for a juniper than frequent light sprinkling.
Feeding, pruning, and pests
Skip fertilizer at planting. If the plant needs feeding later, a slow-release product applied once in early spring is enough. More feeding does not make a juniper grow faster, and it can encourage weak growth.
Pruning is light. Most sources describe the plant as low maintenance, and it keeps its shape without regular cutting. If you want a tighter outline, shape it in late winter or early spring. Avoid cutting into bare wood, because junipers often don’t regrow from it.
Sources describe Sea Green as tough and resistant to many problems. Several sources list it as deer resistant and tolerant of city air, and one says it resists cedar-apple rust, although the same nursery warns that wet, poorly drained soil can still lead to blight. Water in the root zone is the problem to watch.
A note on the name
Most sources list this plant as Juniperus chinensis ‘Sea Green’, but one commercial catalog gives it as Juniperus × pfitzeriana ‘Sea Green’, a hybrid name. The care notes are essentially the same either way, but the name on your tag tells you which source’s information applies. If you are comparing sellers, match the botanical name first, then compare prices and sizes.
Before you decide, compare the spacing you choose with the mature width printed on the tag, and keep the nursery’s figures in mind when you plan the row.
2 thoughts on “Sea Green Juniper Planting Guide: Site, Spacing, and First-Season Care”